Part 1 – Installing The Software

I was asked to investigate the use of BloodHound to see if it might provide some insight into Active Directory and its privileges and trusts at work. I decided to install this onto my home lab first and this post will cover what I did to install the software, which tutorials I followed. Part 2 will discuss how I created my first data upload.
Like my other posts this is primarily an aide-memoire for me when I come to do it again somewhere else, but I have brought together several bits of information that as a complete novice to Bloodhound I had to search for.
Initially I installed BloodHound in Kali I had Kali 2019.3 built so I updated it and installed Bloodhound using the aptitude installer. I’d recommend following this article by Andy Gill (@zephrfish) if you want to build from source.
Simple install in Kali 2019.3
$ sudo apt update && sudo apt upgrade
$ sudo apt install bloodhound
Once this was completed, I attempted to launch neo4j.
$ neo4j start
At this point I had some errors pop up that weren’t overly helpful. When I read the messages closely I did eventually get to the point that they are referencing missing directories. So to save you my pain, I had to create these five directories manually.
- /usr/share/neo4j/logs
- /usr/share/neo4j/plugins
- /usr/share/neo4j/import
- /usr/share/neo4j/run
Since doing this I believe that I should have started neo4j with the following command which would not have required the additional directories
$ neo4j console
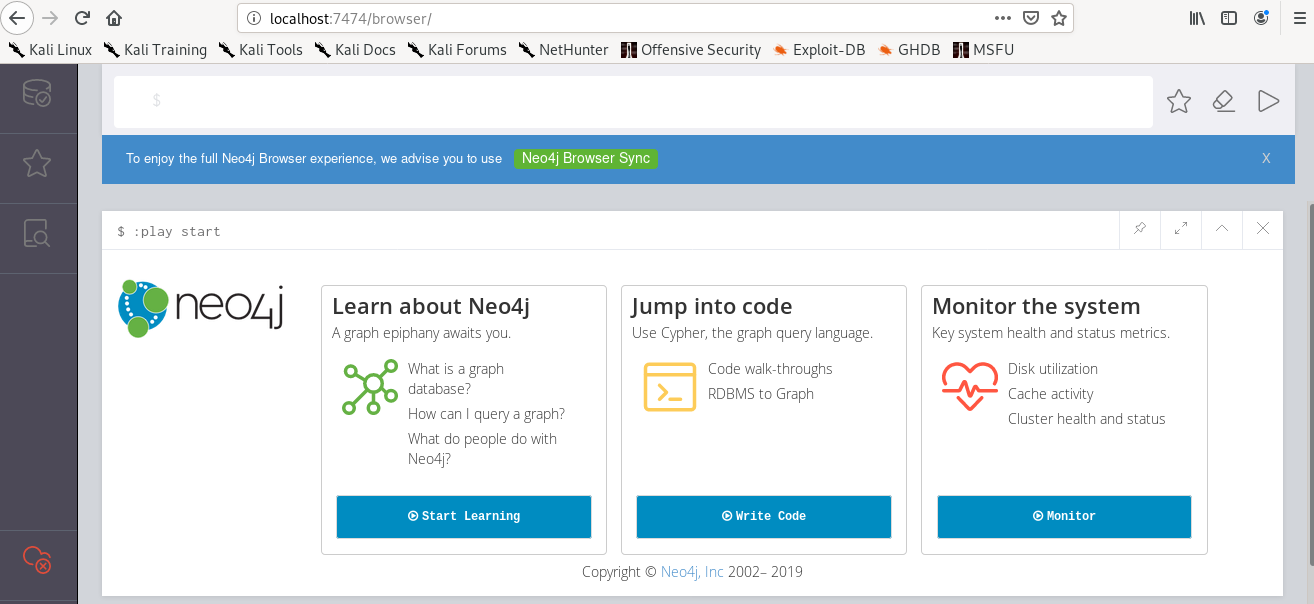
Once you’ve started the console, browse to http://localhost:7474

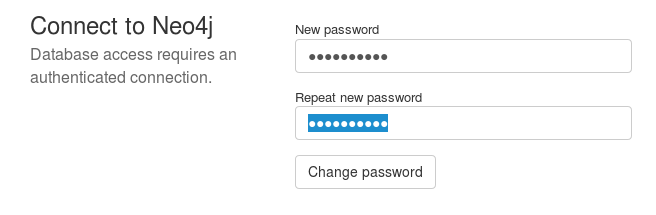
On initial login you will be required to change the password:
Once this is complete neo4j should be installed and working
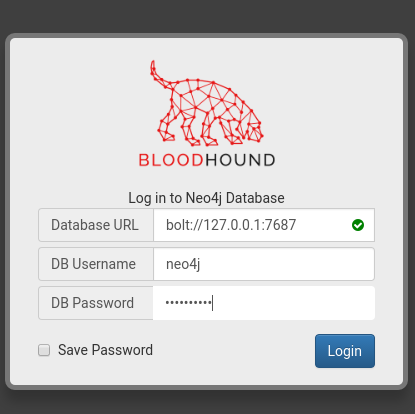
Leave this running and open a new terminal to start Bloodhound by typing
$ BloodHound
you should be prompted with this screen
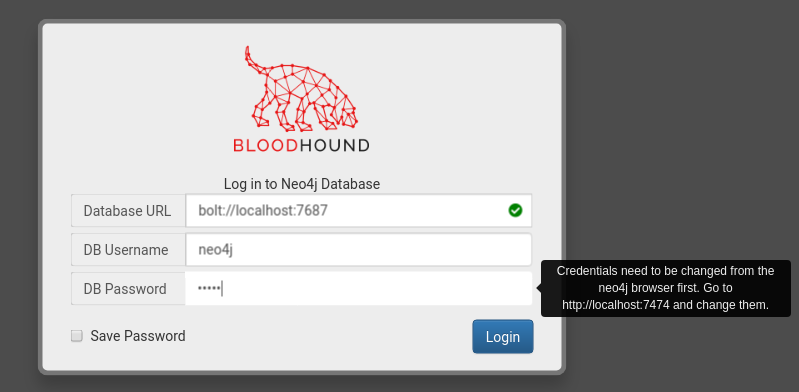
If you didn’t change the default password for the neo4j database you will see this error, go back and change the password.
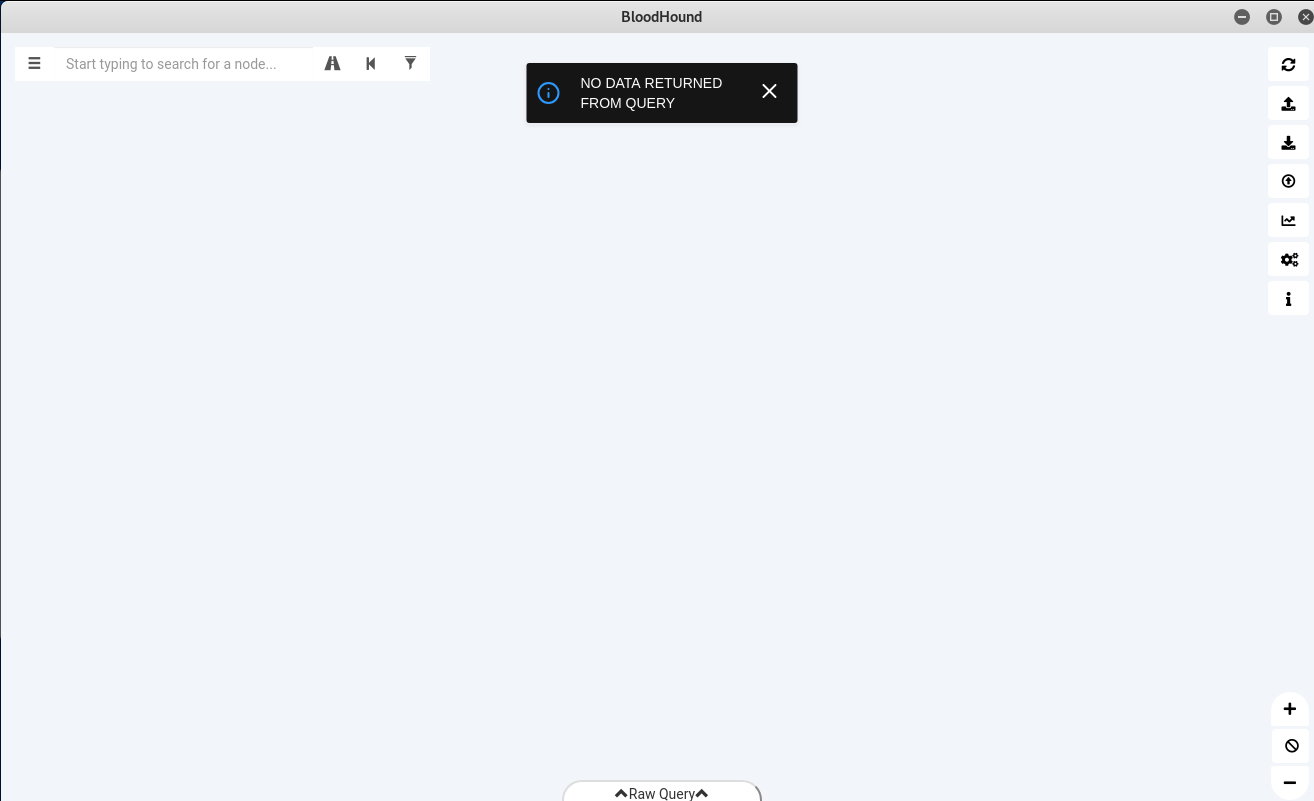
If all is well you should see this
In Part 2 I’ll discuss more about running SharpHound and collecting data.